From Flat Lay to Storefront: AI Product Photos in a Day
A step-by-step guide to turning flat lay product photos into a full lookbook in a single day using AI. Real workflow, real numbers — 150+ images in 5 hours.
From a Flat Lay to a Storefront — In a Day
Your supplier sends a flat lay. Your customer wants to see how it fits on a person. Between those two points used to sit two weeks of studio booking, model coordination, and editing — for a brand small enough to do everything itself, that gap was a real bottleneck.
This is the workflow that closes the gap to a single working day. No studio. No model agency. Just the photos you already have, an AI model library, and a single afternoon.
Why "Single Day" Actually Matters
Speed isn't just convenience. For most small and mid-sized fashion brands, the gap between sample arrival and product-page-live is the single biggest opportunity cost in the calendar:
- Time-on-shelf compounds revenue. A product that goes live two weeks earlier doesn't just earn two weeks of sales — it accumulates reviews, ranks on category pages, and gets indexed by Google sooner.
- Seasonal windows are unforgiving. A spring drop that lands in mid-April converts very differently from the same drop on March 1.
- Iteration becomes feasible. When publishing a product takes a day, you can test two model variants and pick the one that converts — instead of locking in whichever the photographer happened to deliver.
The economic case for compressing this workflow is much larger than the cost savings on photography itself.
Step 1: Upload Flat Lays (5 minutes)
Input: Flat lay photo

Output: AI-generated lookbook
Drag and drop your flat lay photos into Lookbook. The AI automatically analyzes each garment — identifying the type, color, texture, and construction details. No manual tagging required.
What works as input:
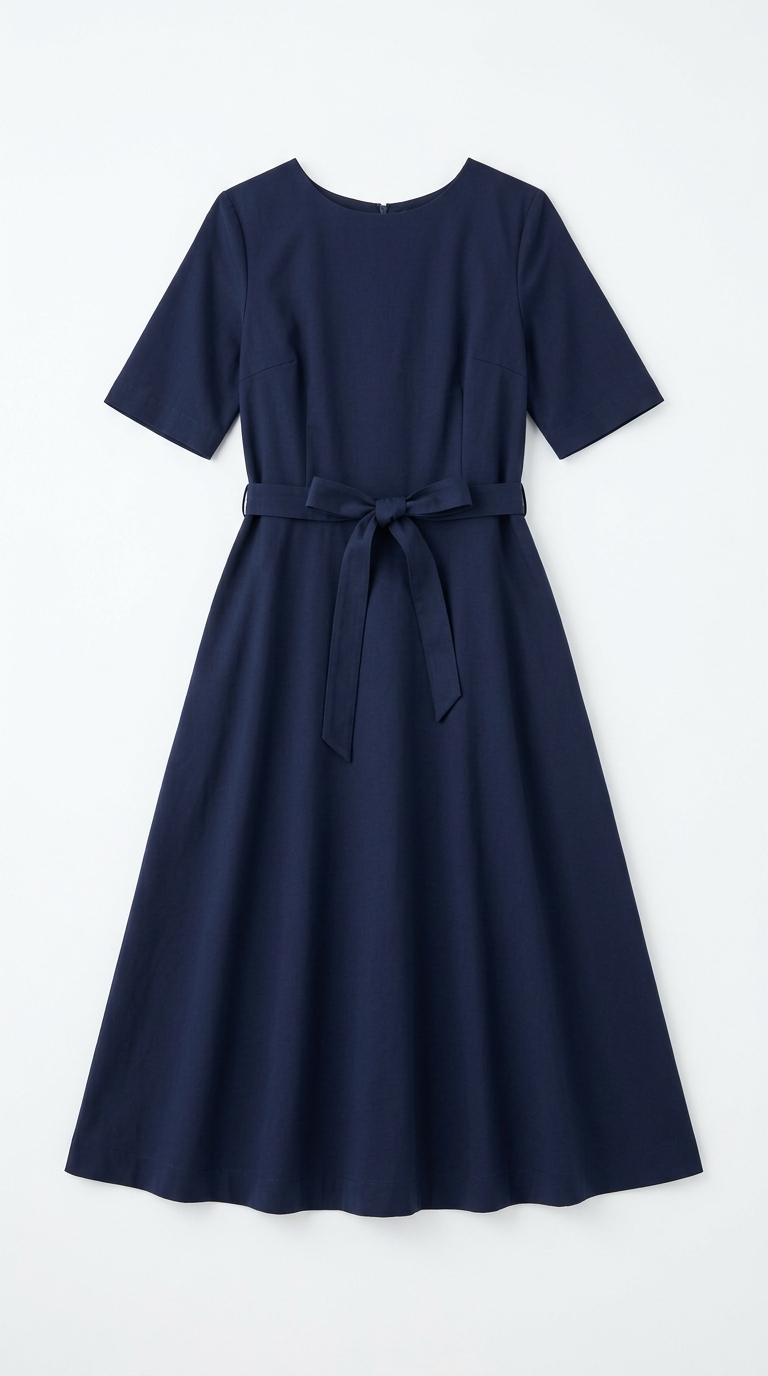
- Flat lay photos on a clean surface
- Hanger shots against a plain background
- Supplier product images
- Ghost mannequin shots
What if I don't have a flat lay yet?
Phone photos work. Lay the garment on a bed, a table, or a clean floor in soft daylight, top-down. Avoid wrinkles, busy backgrounds, and direct flash. Five minutes per garment of careful arrangement beats fifty minutes of regeneration later.
Step 2: Choose Your Models (2 minutes)
Select from a diverse library of AI models or create your own custom model. Pick models that match your target audience — different ethnicities, body types, and styles are available instantly.
Pro tip: use 2–3 models per collection to show how the same piece looks on different people. This builds trust with shoppers and reduces return rates.
Step 3: Pick Poses and Backgrounds (3 minutes)
Choose from poses ranging from casual standing to editorial floor shots. Select a background — studio white for clean product pages, or a lifestyle background for social media content.
Step 4: Generate (30 seconds per image)
Hit generate and watch your lookbook come to life. Each image takes 30–75 seconds depending on the quality tier:
- Flash+ (20 credits): ~30 seconds — great for quick previews and social content
- Pro HD (35 credits): ~45 seconds — sharp enough for product pages
- Pro Ultra 4K (70 credits): ~75 seconds — print-ready quality
Quality Tier Decision Matrix
Picking the right tier is the single biggest lever for credit efficiency. The default instinct — always pick the highest quality — burns 2–3× more credits without any visible benefit on most destinations. Match the tier to the actual display size and you'll get more images per dollar without sacrificing where it matters.
| Use Case | Recommended Tier | Why |
|---|---|---|
| Initial model/pose preview | Flash+ | Cheap iteration to lock the look before committing |
| Social media (Instagram, TikTok) | Flash+ | Mobile-sized, motion-blurred feeds don't need 4K |
| Marketplace listings (Amazon, Zalando) | Pro HD | Crisp enough for zoom view, no wasted credits |
| Shopify / DTC product pages | Pro HD | Same as marketplace — PDP zoom doesn't exceed Pro HD |
| Print catalogs, billboards, magazines | Pro Ultra 4K | Required headroom for print resolution |
| Hero homepage banners | Pro Ultra 4K | Large display sizes punish lower resolution |
Step 5: Download and Upload to Your Store
Download your images in PNG, JPG, or WebP format. They're ready to upload directly to Shopify, WooCommerce, Amazon, or any other platform.
Marketplace-Specific Specs Worth Knowing
Each marketplace has its own quirks. Generating in the right spec from the start saves a re-export pass later:
- Shopify — 2048 × 2048 px square works across themes; WebP for performance, JPG fallback for older clients.
- Amazon — pure white background required for the main image (Pro HD with the white studio background preset passes); minimum 1000 px long edge; longest side ≤10,000 px.
- Zalando — model shots preferred; full-body framing; consistent background across SKUs scores higher in their internal ranking.
- Instagram / TikTok — 1080 × 1350 (4:5) for feed, 1080 × 1920 (9:16) for stories/reels; Flash+ generates fast enough to support multiple variants per drop.
- Google Shopping — square format, light background, clear product silhouette — same constraints as Amazon main image.
Real Numbers: A Typical Day
Here's what a solo seller can realistically produce in one working day with Lookbook:
| Task | Time | Output |
|---|---|---|
| Upload 30 garments | 15 min | 30 items analyzed |
| Select models & poses | 15 min | 3 models, 5 poses each |
| Generate images | 3–4 hours | 150+ images (30 items x 5 variations) |
| Review & download | 30 min | Final selects ready |
| Total | ~5 hours | 150+ lookbook images |
Try getting that from a traditional photoshoot.
Common Mistakes to Avoid
- Skipping the preview pass. Generating 30 SKUs straight at Pro HD before checking a single output is the fastest way to waste credits. Always run 1–2 Flash+ generations first to lock the model and pose.
- Switching models mid-collection. Inconsistent model selection across SKUs makes the catalog look pieced together. Pick 2–3 models per collection and stick with them.
- Poor flat lay quality. Wrinkles, harsh shadows, and busy backgrounds in the input force the AI to "guess" details that should have been visible. Five minutes spent on a clean flat lay saves multiple regenerations.
- Over-iterating on one image. If the third generation of the same SKU still doesn't look right, the input photo is usually the bottleneck — not the AI. Re-shoot the flat lay.
- Ignoring marketplace format requirements. Uploading a 9:16 social image as a Shopify product photo crops awkwardly on every theme. Generate to the destination spec.
- Treating the first generation as final. Reviewing one variation per SKU and shipping it as-is leaves easy wins on the table. Generate 2–3 model or background variants and pick the best — the marginal credit cost is small relative to the conversion difference.
Tips for Best Results
- Better input = better output: Use well-lit, high-res flat lays with minimal wrinkles
- Batch by category: Do all tops first, then bottoms — it's faster to keep the same model/pose selections
- Use Flash+ for testing: Preview your selections cheaply before committing to Pro quality for final images
- Save to Wardrobe: Your garments are saved for future use — next season, just pick new models and backgrounds
FAQ
Does this workflow work for non-clothing items (bags, shoes, accessories)?
Yes — the on-model rendering handles accessories the same way it handles garments. Bags photographed on a model with a coordinated outfit consistently outperform isolated product shots on conversion.
How many credits should I budget for a 30-SKU collection?
Roughly 30 SKUs × 5 variations × 35 credits (Pro HD) = ~5,250 credits, plus a 100–200 credit budget for Flash+ previews. Most solo sellers can comfortably stay under 6,000 credits for a full lookbook launch.
What if my supplier photos are low-resolution?
Anything 800 px on the long edge or larger usually works, but cleaner inputs produce cleaner outputs. If your supplier sends 400 px thumbnails, ask for the original — most have higher-res files but default to compressed thumbnails for email.
Can I edit a generated image afterward?
Yes, but it's rarely needed. If something is off, regenerating with a different pose or background is usually faster and produces a cleaner result than retouching.
Does this replace product photography entirely?
For volume work, yes. For hero campaign visuals, brand identity shoots, and specialty fabrics with extreme texture, professional photography still has a role. The realistic split for most brands is 80/20.
How do I keep the look consistent when I add new SKUs mid-season?
Save your collection's model + background + pose preset and reapply it to new uploads. The combination locks the visual feel so a mid-season addition reads as part of the existing collection, not as a different shoot.
Can multiple people on my team work in parallel?
Yes — uploads, model selection, and generation are independent per session, so a small team can split the catalog by category (one person on tops, another on bottoms) and merge results at the end.
How to Run This Workflow Yourself
- Upload flat lay photos of every garment in the collection.
- Pick 2–3 AI models that match your audience.
- Choose poses and backgrounds that fit your brand aesthetic.
- Run a Flash+ preview on 1–2 garments to lock the look.
- Generate the full collection at Pro HD (or Pro Ultra 4K for print).
- Review and download in the format your destination expects.
- Upload to your storefront (Shopify, Amazon, Zalando, social) and ship.
Your suppliers send flat lays. Your customers want model shots. Lookbook bridges that gap in hours, not weeks.
Ready to create your own lookbook?
Turn flat lay photos into professional model shots in minutes. No photoshoot needed.
Try it freeTags
Related Articles

Lookbook Photography Cost Breakdown: Traditional Studio vs AI
A detailed cost comparison between traditional studio lookbook photography and AI-generated fashion images. 10 garments, 50 images: $5,000 vs $50.

How to Build Your Brand Mood with Custom Backgrounds
Learn how to use Lookbook's custom background feature to create a consistent brand mood across your entire collection — using uploaded photos, AI generation, or curated presets.

How Small Brands Compete with Big-Budget Visual Quality
How independent fashion brands can achieve the same visual quality as major retailers — without the six-figure photography budget. A practical playbook using AI.
Ready to transform your content?
Join the leading fashion brands using Lookbook to create stunning visuals at scale.